
I’ve been telling you how busy things are around here, but the little one is finally here!!!!! Both he and the nursery are finally ready to make their debut!

You might remember when our daughter got married I helped her redo two guest rooms in their 1940’s bungalow. You can see that full post here. But two years later this room needed another makeover….it needed to become a nursery!!!

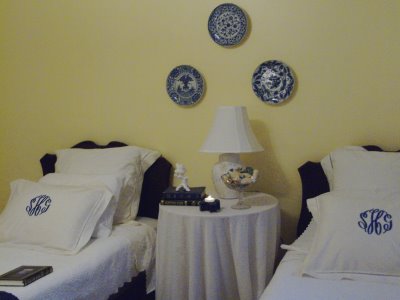
Same wall-different bed and art :). She knew she wanted a room that truly said “baby”and nothing but pastels would do! She chose complementary fabrics in blue, green, and yellow. The walls were painted Gold Buttercup by Behr.

The bed is antique white in the Venetian series by Bratt. It actually can be a four-poster, but she elected not to use them this time (maybe for a girl someday :). She was extremely lucky and found it on sale! The bumpers are paisley trimmed in the stripe of the bed skirt. The rug is from the Pottery Barn Outlet.

The next major hurdle was finding just the right chair. This is a swivel rocker in the pale green of the crib fabric. It is truly comfortable---I’ve always wanted a chair with something similar to an odometer. I know I have already put some “miles” on this one! We found the little side table at a thrift shop. I “shabby chicced” it and spray painted the lamp.

We also found an old oak dresser to serve as a changing table and to use for storage. The kind people in the paint department at Lowe’s walked me through the painting and glazing process.

There is room on top for diaper changing necessities in the basket and lots of drawers to hold all those adorable sacks and onsies!

The final necessity was a window treatment. She had box pleat balloon shades made in a complementary polka dot. The knotted trim is in the bed skirt fabric. She left the room darkening shades behind for nap time!

Now the fun begins…accessorizing! Dad made the shelf. The picture on the easel is a thread count piece my mother made over thirty years ago. I rematted it and painted the frame to match the furniture. It makes me happy to have a little reminder of his great grandmother in his room….I know she’d like it too.

I had this little bench done as a surprise! The bench belonged to my daughter when she was a child. I antiqued it and a local artist painted the name and animals to mimic the canvases over the bed. We LOVE the animals. We both spent days online searching for just the right art.

This is our little guy….well, our guy anyway. He weighed eight pounds and thirteen ounces! One of my daughter’s co-workers from school took this on the day he was one week old. The photographer is a kindergarten teacher and had never photographed a baby before. I think she missed her calling!

It’s official….I’m in love with this wonderful blessing from God!
I’m linking to Susan’s Metamorphosis Monday at Between Naps on the Porch. You can click on her button on the sidebar for immediate transportation. Thanks for sharing this joy with me!! You’ve been with me through the whole thing! I’d love to hear from you!


